Alanna Burke
|
Feb 02, 2023
|4 min read
So you’ve learned all about Lagoon, and the idea of “ZeroOps” sounds just right for your business. Your developers want a better experience, and you think Lagoon could be the right platform to help them achieve big things. But how do you actually use Lagoon? If you’re one of those people who likes to look inside the box before making a purchase, don’t worry; We’re the same way. So we’ve written this blog with the goal of helping you understand exactly how Lagoon works, from your local development environment to deployment.
For the purposes of this demo, we're going to pretend that you're an amazee.io customer with an existing, Lagoonized, Drupal site. See our docs for more info on Lagoonizing.
We also have our local environment set up per the documentation. For this demo, we'll be using Pygmy.
Let’s dive in and see how easy it is to develop your site with Lagoon!
Run `pygmy up` to make sure everything is running properly in your local environment.

Here we are, in our local environment. We've made a change to our Drupal site - changing the default theme to Olivero - and we want to review it and deploy it.
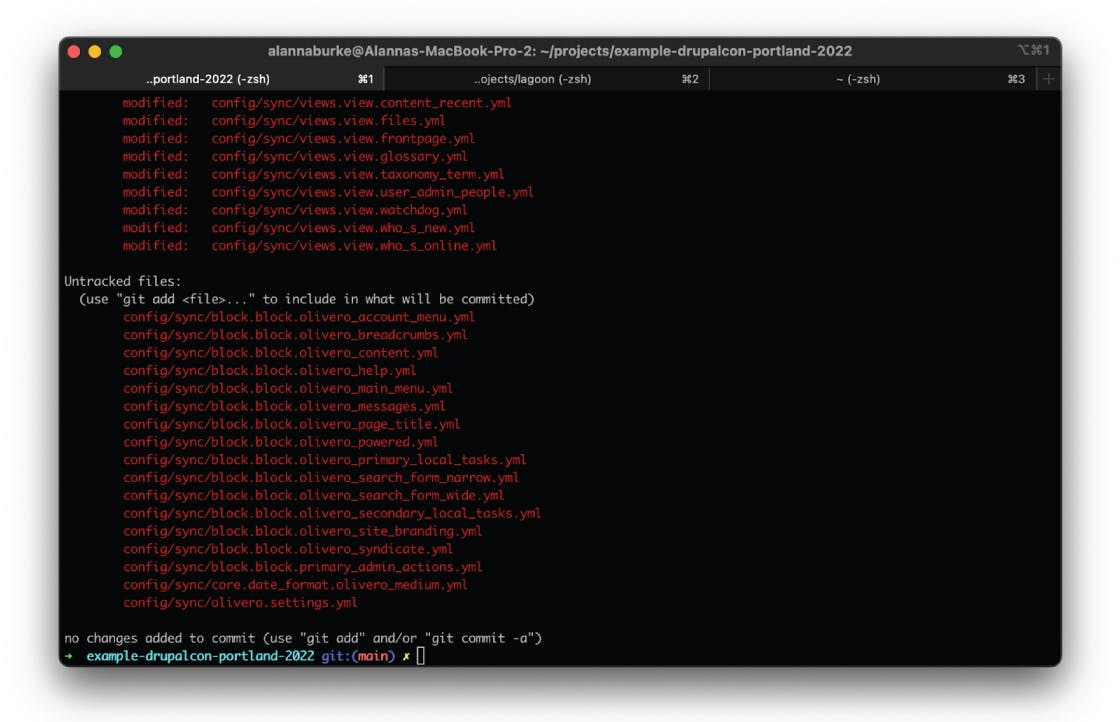
Make sure your changes are staged and committed.
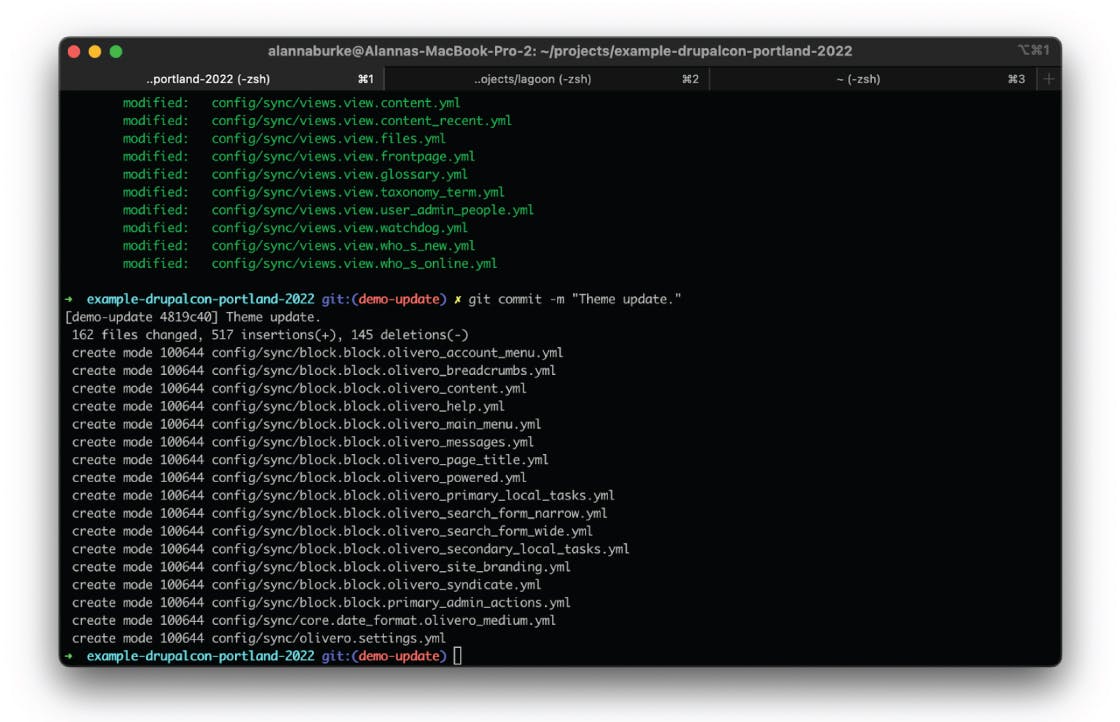
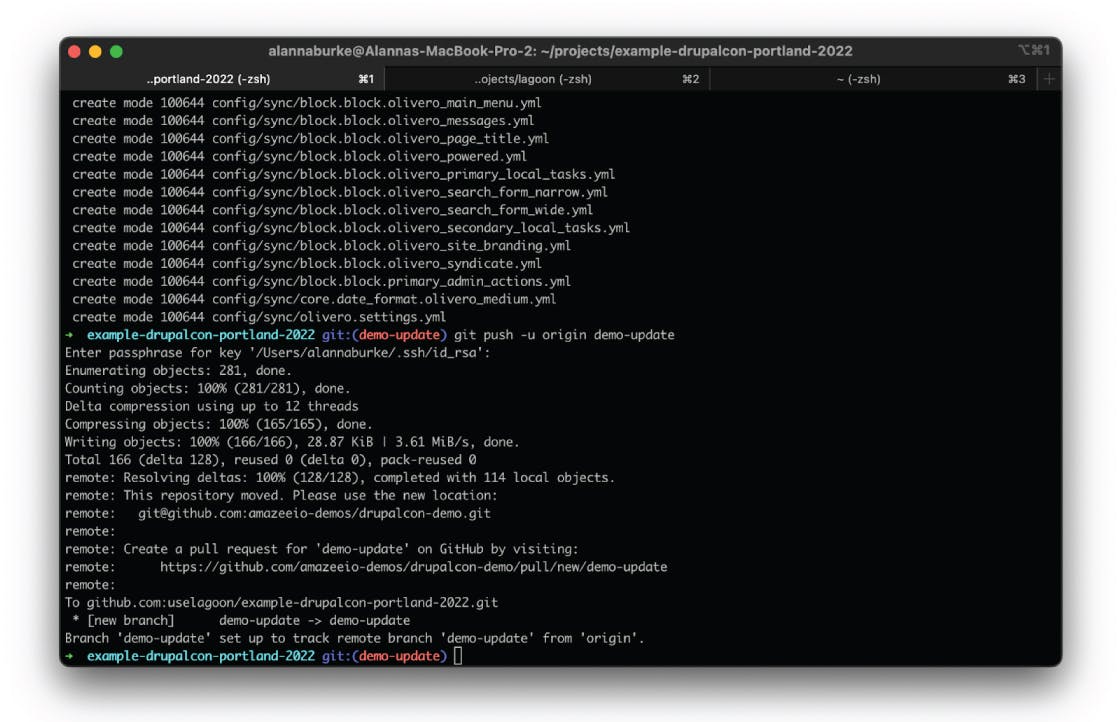
Ok, our changes are ready, so let's push this branch! (Yes, it’s really that simple.)
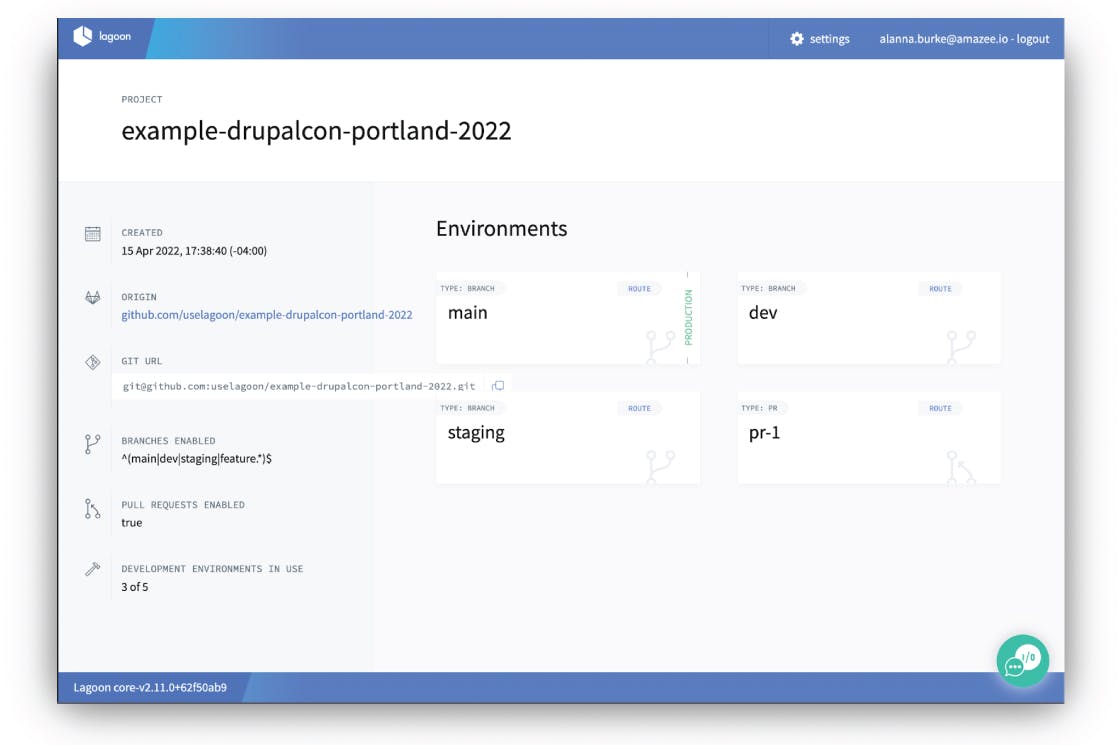
Lagoon can be configured to spin up a development environment in several ways - you can enable branches matching a regular expression - for example, any branch containing "feature."
We can also set it up to create an environment for pull requests, which is what we are doing here. If you want to know what’s set up to deploy in your environment, check out the UI - on the bottom left you’ll see “Branches Enabled,” which is the regex string that determines which branches will be deployed. Underneath, you can see whether or not pull request environments have been enabled for this project, which means that every pull request will spin up an environment. This is really handy for testing.
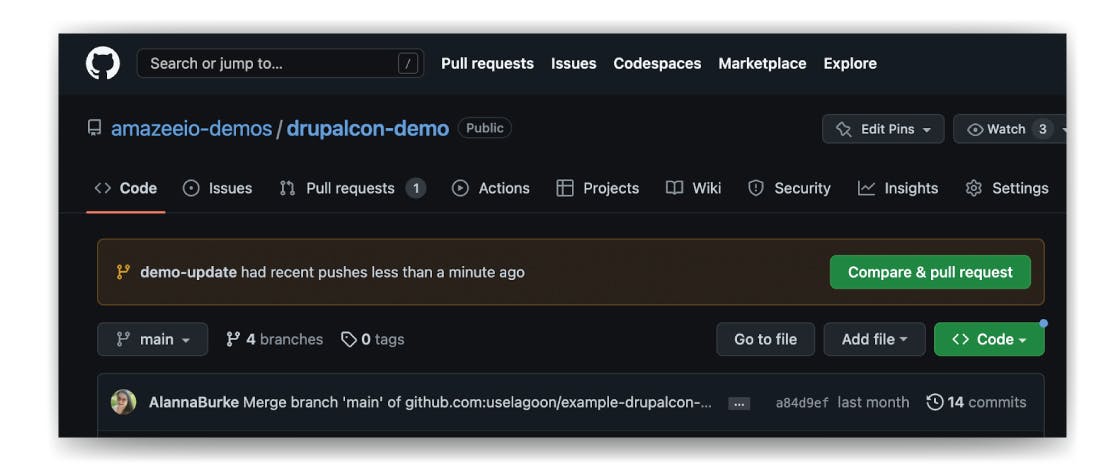
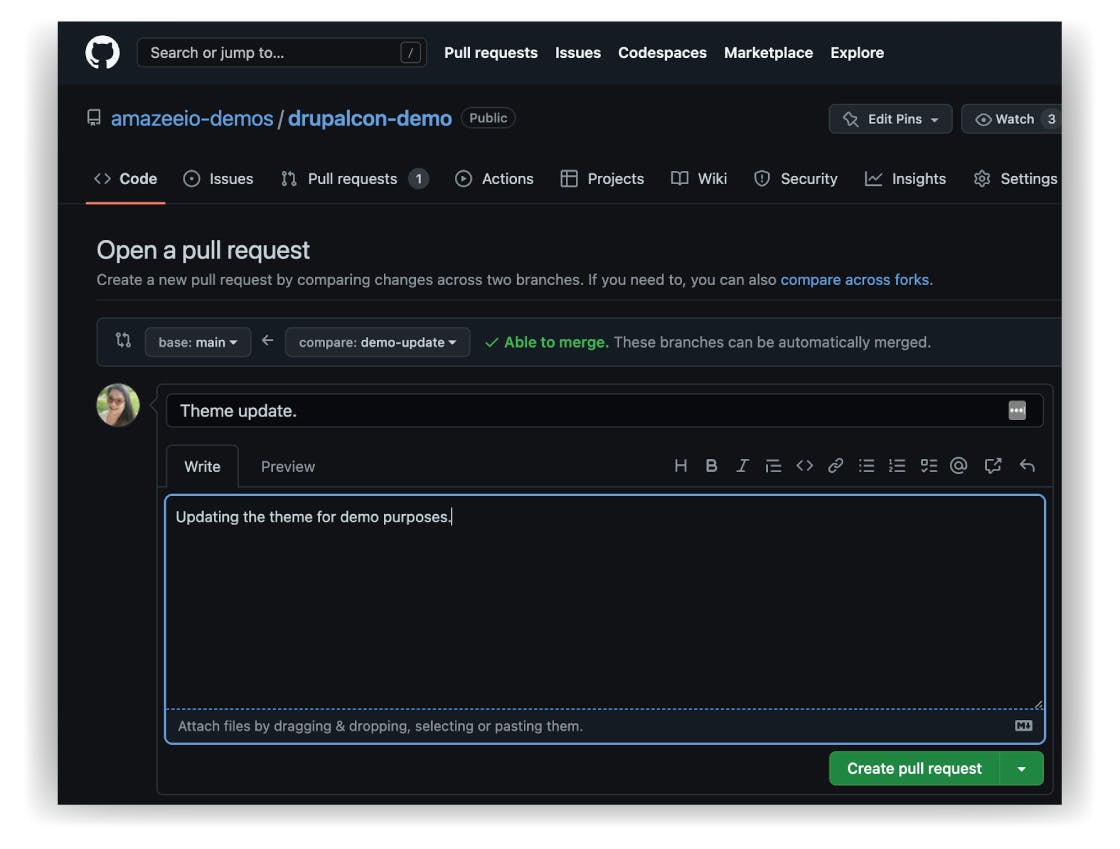
In GitHub, we can see our pushed branch, and now we'll create a pull request.
Finally, we wait for all of the rollouts to complete, followed by any post-rollout tasks. This includes things like copying the database from the production environment, clearing cache, and more.
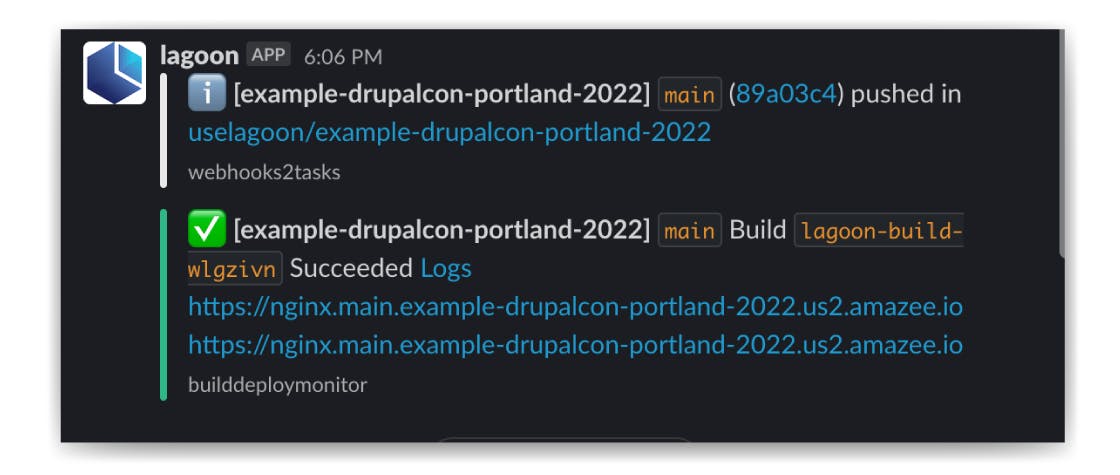
When everything is complete, we’ll get a notification - in this case, we have them configured in Slack.
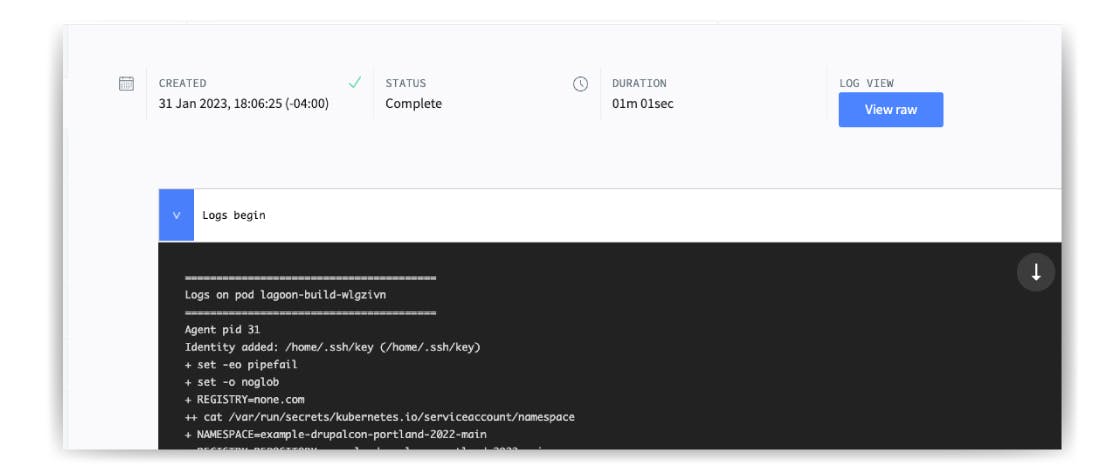
We can also check on the progress of the build in the Lagoon UI.
If we go to the route given in the notification, we can now see our site with the changes we pushed up.
And that's Lagoon in a nutshell!
We now have an environment to test and review our pull request, with no extra steps for the developers - just push your code like you would normally, and Lagoon does the rest. And once you merge the pull request, that deployment will happen automatically as well.
This can save developers hours a day, and teams may experience significant improvements with this streamlined, automated approach. Developers should focus on code, not operations, and with Lagoon, all they need to do is push code. The rest of the day is theirs - as it should be.
If you want to learn more, check out our docs, hop into Discord, or contact our team here.